Your Cart is Empty

WARNING: Aerial fitness and pole fitness can lead to injury or death. Please read these carefully before use for the safest possible usage.
1. Place the Bottom base ① on the flat floor and make sure the knuckle is locked and does NOT spin. This will allow you to easily thread on the next pieces.
2. Install the extension ②③ if needed to reach your desired ceiling height.
3. Install Bottom Main Pole B④. If using an extension, Main pole B will be placed on its top.
4. Install Main Pole A⑤onto Main Pole B.
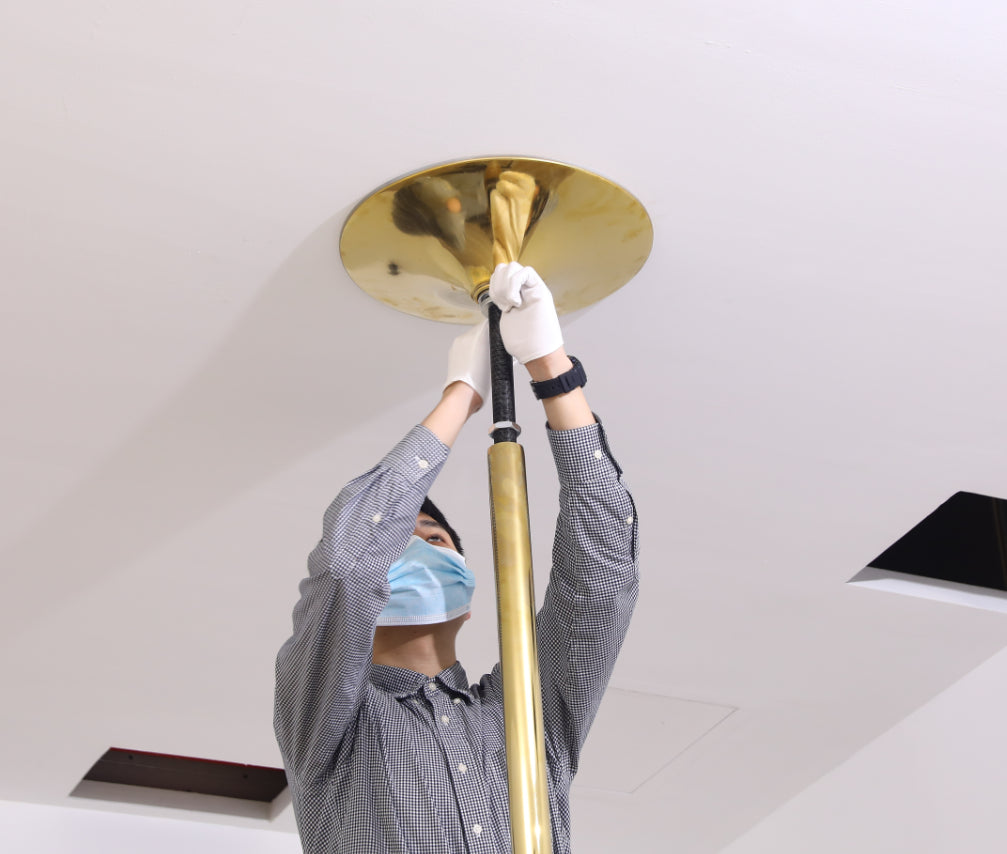
5.Remove the screws on the Height Adjuster Cover⑦, take out flange D(keep the screws carefully, will be used later). And slide the Height Adjuster Cover ⑦(with the screw holes upwards) over the pole and to the bottom (will be raised later). Then put the Flange D on the black Height Adjuster ⑥(with the convex side upwards). Finally put Upper Dome ⑧ on top of that.
6.Release E Flange Nut on the black Height Adjuster, then unthread the Height Adjuster until you have the upper dome⑧fixed to the ceiling (double check the Upper Dome as firmly as possible by using iron rod in the tool kit). Tighten E Flange Nut on the black Height Adjuster by wrench to lock the Height Adjuster.
7.Raise the Height Adjuster Cover⑦ from the bottom to top, fix it to the Flange D by tightening the screws.
8. When finish the installation, make sure that the pole is firm and vertical(use the triangle ruler), and each two poles are tightened enough( use the iron rod in the tool kit). Since our pole is fixed onto the ceiling by pressure, ensure the whole upper dome fit the ceiling VERY tightly. If there is any movement, retighten it.
9. If you want to use spinning mode, remove the knuckles from both sides of the bottom base as follows.